
Believe it or not, replacing an old toilet seat is quite simple. Plus, this simple DIY project will make a huge difference in how your bathroom looks. If you need to spruce up the space a bit, a new toilet seat can go a long way.
What You’ll Need
You’ll need minimal tools for this project. Moreover, it’s not a time-consuming project, so you might want to replace all of the toilet seats in your home. Anyway, the tools you will need include a flathead screwdriver, a Phillips screwdriver, a wrench, and nuts and bolts. You can also use the nuts and bolts that are on your old toilet seat, but these might be crusted and rusty. Keep in mind that some new toilet seats come with their own set of nuts and bolts. As for tools, that’s it!
Unfastening the Toilet Seat
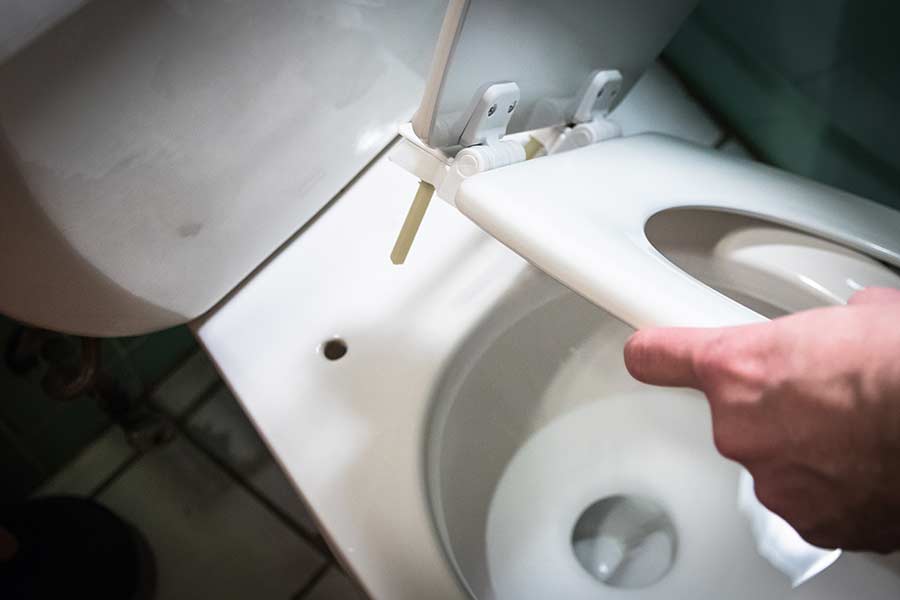
First, use a flathead screwdriver to crack open the bolt caps. These are located on the hinge part of the toilet seat and lid. The caps are there to protect the bolts, and they may already be loose on your toilet. If not, simply wiggle the flathead around to pry open the cap and expose the bolts.
Next, you need to use a wrench to hold onto the nut located on the underside of the bolt. With your other hand, use a Phillips screwdriver to loosen the bolt, allowing the nut to slide out. This will allow you to remove the toilet seat.
Putting on a New Toilet Seat
At this point, you are ready to put on the replacement toilet seat. Whether it’s plastic or porcelain, the instructions are pretty much the same. The replacement seat that you bought may or may not include new bolts. If it doesn’t, then you can use the bolts that were on the old toilet seat. More often than not, the new seat will come with fresh hardware, which adds to the newness of the seat.
To get started putting on the new seat, place the bolts in the hinge and make sure that you line the seat up with the bowl. The bolts of the new seat should line up perfectly with the bolt holes on the toilet base. You should be able to gently push the bolts through the hole, aligning the new seat with the base.
Make sure everything is lined up, and then screw in the nuts beneath the toilet base. Again, you can reuse the old nuts, or your replacement toilet seat may include new nuts. Either way, hand tighten the nuts so that the seat is in place, but you can still move it around to achieve the perfect alignment.
Once you get the alignment just right, use a wrench to tighten the nuts to keep the seat firmly in place. You don’t want to go too tight, but they should be stable and firm. Voila! You’ve replaced your toilet seat.
Considerations
The type of toilet you have in your home will make a slight difference in how many options you have for replacement toilet seats. Round bowls tend to come with more options, while elongated toilet bowls are more specialized. The primary difference in these bowl styles is comfort and personal preference; some people just prefer a more oval-shaped bowl rather than a round one.
Keep in mind that you will want to measure your current toilet seat before venturing out to buy a new one. Furthermore, pay attention to the color of your toilet, especially if it’s a unique shade. It can look awkward to have a toilet seat that’s a different color from the rest of the unit.