
Lift up your toilet’s tank lid and you will see the toilet float. This is a small device that resembles a rubber ball and it’s there to prevent your tank from overflowing with water. Therefore, it’s a crucial component that keeps your toilet functioning properly. That being said, there are going to be times when you need to adjust the toilet float. This is quite simple, as you will see from this step-by-step guide.
When to Adjust a Toilet Float
It helps to know when your toilet float needs adjusting. If you ever hear the water in your toilet running, then it’s probably something that can be fixed by jostling around the toilet float. Moreover, your toilet could be flushing slowly or stopping halfway through the flush. This also indicates that you probably need to adjust the toilet float. Essentially, if the water level in the tank is getting too high or too low, it’s an issue that can most likely be remedied by adjusting the float.
Preparing to Adjust a Toilet Float
Before you dig into your toilet tank, keep some tools nearby, such as a screwdriver so that you can adjust the float as well as a rag so you can wipe up any water that splashes around. As for tools, that’s about it! Besides that, you need to remove the tank lid and place it carefully on the floor, preferably on a towel or rug to avoid any damage.
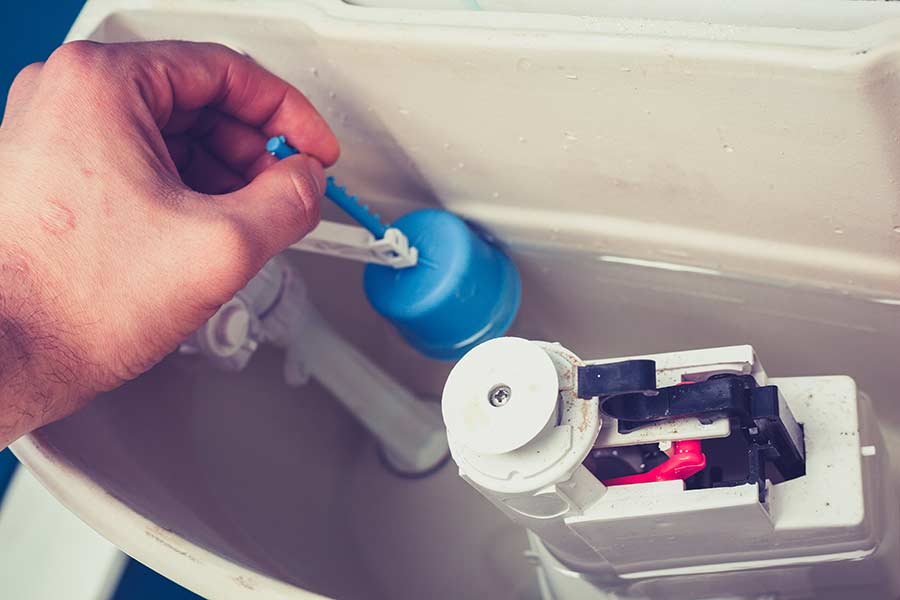
You should also take a look in your toilet tank to determine what kind of float you have in there. Different types of toilet floats exist and they usually vary depending on the age of the toilet itself. For example, older models will most likely have a ball float, which looks exactly as it sounds. It’s usually attached to a metal rod by a screw.
Another type of toilet float is a small rectangular-looking device that moves up and down along a vertical pipe with each flush. There are different methods for adjusting these floats so we’ll go over both.
Adjusting a Ball Float
To adjust a ball-type float, begin by unscrewing it so that it lowers with the water level. Keep turning so that the water in the toilet stops running, then turn it a half-turn. At this point, give the toilet a flush and wait for the water in the tank to refill. Check where the water level in the tank is stopping; it should stop just below the top fill line on the float’s overflow tubing. You might need to keep lowering the float in order for the water level to lower. However, if this method isn’t solving your issue, it could be that something is wrong with the tank valve or there could be a more serious problem.
Adjusting a Modern Toilet Float
If your toilet doesn’t have the ball float but a more modern device, it’s still just as easy to adjust. Your float might be a Fluidmaster or something similar. This type of float sits inside of a fill valve and is attached via a rod that usually sits on the side of the device. There should be an adjustment screw or clip that you can turn so that the float moves up or down. Use this to move the float down about half an inch. Release it and see if the water in the toilet stops running. If it does, then the problem is solved; if not, then move the float down another half inch.
When the water stops running, give the toilet a flush and allow the tank to refill. Again, it should stop just below the top fill line on the valve. There are variations on this kind of fill valve toilet float but the process for adjusting it is about the same.
Adjusting a Toilet Float to Conserve Water
Some homeowners would like to adjust a toilet float not because they’re having a problem with it but because they want to use less water in the bathroom. If this is the case for you, it is possible to make adjustments to the toilet float so that less water is used every time you flush the toilet. Start by checking if you have an old-fashioned ball float or if you have the fill valve type of device.
Find the screw or spring clip on the side of the device and turn or pinch it so that the water level goes down. This will also lower the toilet float. Test out the new water level by giving your toilet a flush. Even though you want to conserve water, you also want the toilet to use enough water to properly flush and clear anything out of the bowl.
It’s a good idea to check on your toilet float from time to time, especially if you notice that your toilet is running more than usual. Fortunately, this DIY project is quite simple and not very time-consuming.
External Resources