
Whether you’re dealing with a close-coupled toilet, a back to wall, or wall hung unit, a malfunctioning flush button is a common problem. While replacing a toilet flush button is a simple task, a professional plumber may charge between £50 to £100 depending on the complexity of the task.
In this blog, I will provide you with a step-by-step DIY solution for replacing a bathroom toilet flush button across popular UK toilet types
Why Does My Toilet Flush Button Not Work?
A toilet flush button may not work for several reasons. First of all, it may be a problem with the flushing mechanism itself, for example, a broken or disconnected linkage inside the cistern. Faulty valve, pneumatic issues. Sometimes button damage is itself an issue or limescale or debris makes it difficult to use the flush button. To troubleshoot these problems, you will need to check the flush button, inspect the cistern, check the linkage, inspect the flush valve, and check for pneumatic issues so you can solve the problem completely.
Step-by-Step Replacement Guides for UK Toilet Types
Here we have a list of tools and materials you will need to replace a toilet flush button from close coupled toilets, back-to-wall toilets, and wall-mounted toilets.
- Adjustable spanner
- Screwdriver set
- Replacement flush button (dual or single, depending on your model)
- Silicone grease (optional)
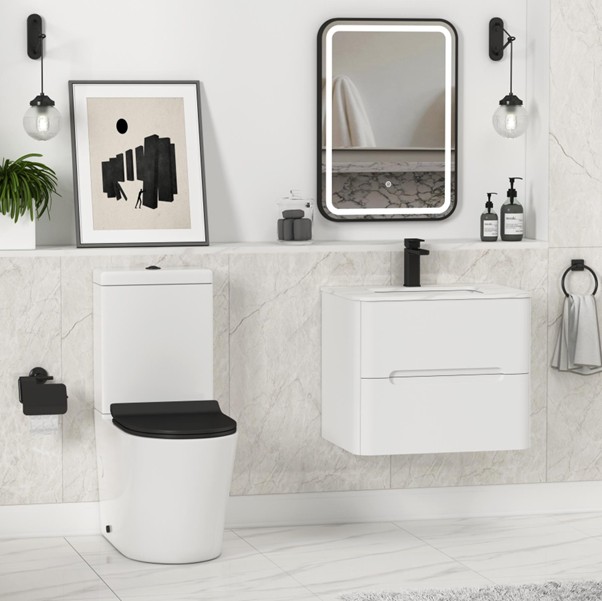
1. Replacing Close-Coupled Toilet Flush Button
One of the most common toilets in the UK, these have a cistern and toilet bowl closely merged into a single unit.
- Before you start, turn off the water supply and remove water from the cistern.
- Simply remove the lid to access the flush mechanism. (It is usually easily detached by applying some force)
- Gently unscrew the old button – most twist anticlockwise or unclip.
- Measure the buttonhole (typically 40mm or 60mm for dual-flush models).
- Insert the new button, ensuring it clicks into place.
- Reattach the cistern lid and test.
2. Replacing Back-to-Wall Toilets (In-Wall and WC Unit Concealed Cistern) Flush Button
Back-to-wall toilets have concealed cisterns at the back that are placed inside the WC unit or wall (without WC), creating a tidier look.
These have a hidden cistern behind a panel or wall unit.
- First, turn off the water and locate the access panel (usually near the flush button).
- Remove the panel to reveal the cistern.
- Detach the button’s connecting rod from the flush valve.
- Replace the button by unclipping it from the front plate.
- Attach the new button’s rod to the valve mechanism.
- Secure the access panel and test.
3. Replacing Wall-Hung Toilet Flush Button
Modern and space-saving, wall-hung toilets fit on the wall above the floor and have a fully concealed cistern within the wall.
- First turn off the water supply and remove all the water inside the flush tank.
- Remove the flush button cover (often a screwless design).
- Unscrew the button unit from the mounting plate.
- Check the cable or rod connecting the button to the cistern – replace if corroded.
- Install the new button, ensuring the cable is taut but not overstretched.
- Reattach the cover and test.
Remember, button is just a small part of whole flushing mechanism. In some cases you may need to replace entire machine. The complete flushing part includes a button that is connected to flush rods, float, fill valves, flapper, overflow tubes.
These parts may vary slighty from model to model and flush type but the replacement method remains the same.
When to Call a Professional
Replacing a bathroom toilet flush button is a simple and straightforward job but you may need professional help if:
- The problem persists after replacing the flush button and you can not determine why.
- The cistern shows signs of leaks.
- The flush valve or syphon needs replacing.
- You’re unable to access the cistern (common in fully concealed units).
*In old toilets, you should consider replacing other parts attaching to the button such as a valve or flapper for optimum performance.
Final Tips for UK Homeowners
Here, we have a few tips to ensure your DIY toilet flush button replacement goes as smoothly as possible.
- Always buy buttons compatible with your cistern toilet. (you may have to discuss the requirements for replacement from where you bought a toilet)
- Dual-flush buttons must match the valve’s air pressure or cable system.
- Use silicone grease on moving parts to prevent future jams.
Ending Thoughts
So, there you have it! Fixing a bathroom toilet flush button might seem like a daunting task first, but anyone with the right knowledge of using plumbic tools can easily complete it as a DIY. Just take your time, and follow the steps mentioned in this blog, and you will have your toilet working perfectly in no time again. Remember! If you ever feel stuck, there is always a professional plumber ready for help.